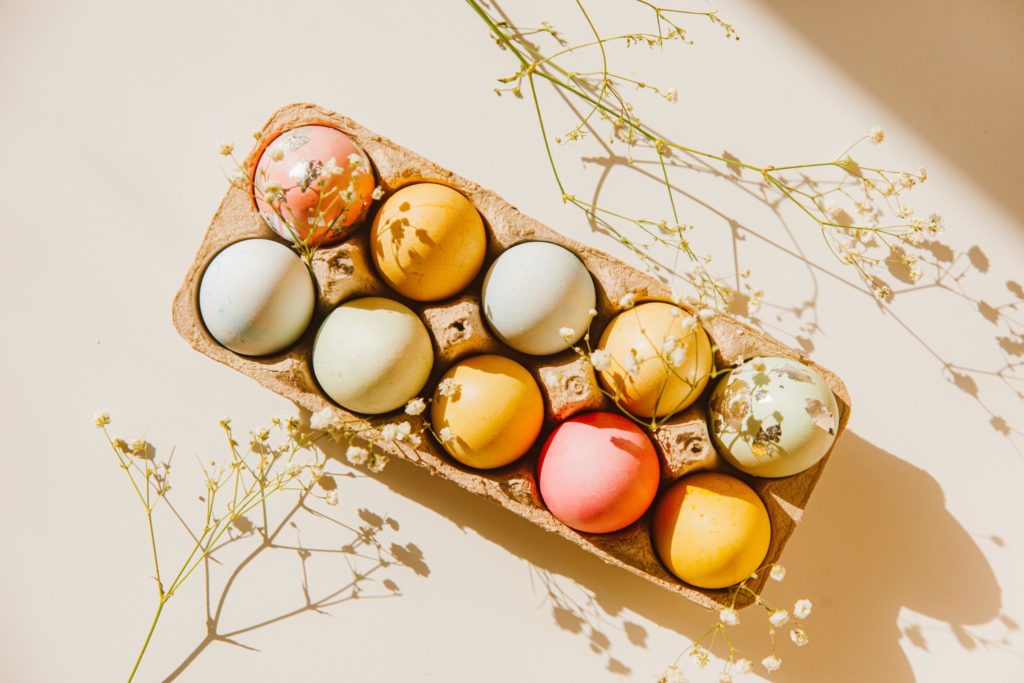
Nature offers us so many beautiful colors. From beet red to turmeric yellow, the natural world gives us a spectrum of vibrant colors to be in awe of.
Tap into that beauty this year and create an all natural Easter by DIYing your Easter eggs using plants!
(And why stop at plants? These dyes can be used to tye dye shirts and color cupcakes — the possibilities are endless.)
Here are a few of our favorite dye recipes made from garden plants and vegetables.
How to make DIY plant-based dyes: the gist
Chop up raw ingredients and place in a blender using a ratio of two cups of very hot (almost boiling) water to every two cups of raw material. Add 1-2 tbs of white vinegar. Bring to a boil and then simmer for 30-45 minutes. Allow the mixture to cool completely before straining the plant material out of the dye.
Let your hard-boiled Easter eggs soak in the dye for as long as you wish! The longer the eggs soak, the more vibrant they will be.
Vibrant colors, and the plants that make them
Color: Red · Plant: Beets
Take 1 to 2 beets (about 3/4 pound) and roughly chop. Combine it with 1 quart water, 1 tablespoon vinegar, and 1 tablespoon salt in a saucepan. Bring to a boil, then cover and simmer for 30 minutes. Strain, reserving the liquid for dyeing.
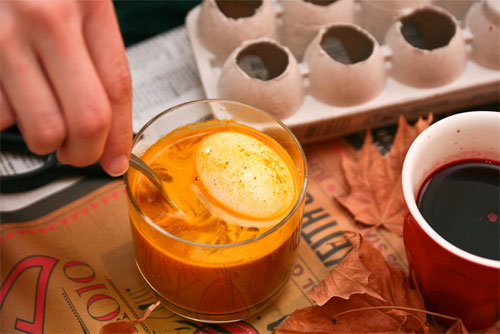
Photo from Serious Eats
Color: Yellow · Plant: Turmeric
Heat 1 quart water, 1 tablespoon vinegar, and 1 tablespoon salt in a saucepan. Add 6 tablespoon ground turmeric and stir well. Simmer for just a few minutes until the turmeric dissolves.
Color: Light Orange · Plant: Paprika
Bring 2 cups water to a boil. Add 4 Tbsp paprika and white vinegar, and mix until combined. Pour the mixture into a jar and let cool to room temperature. Add an egg and soak. Remove with a slotted spoon and rinse with cool water. Let dry.
Color: Green · Plant: Spinach
Fill a wide pot with water, spinach leaves, and vinegar; bring the mixture to a boil and simmer for 20 minutes. Let cool, then place pot with eggs in the refrigerator overnight. The next day, remove the eggs from the pot with a slotted spoon, lightly rinse and make them shiny by rubbing them with a little olive oil and a thin towel.
Color: Brown · Plant: Onion Skins
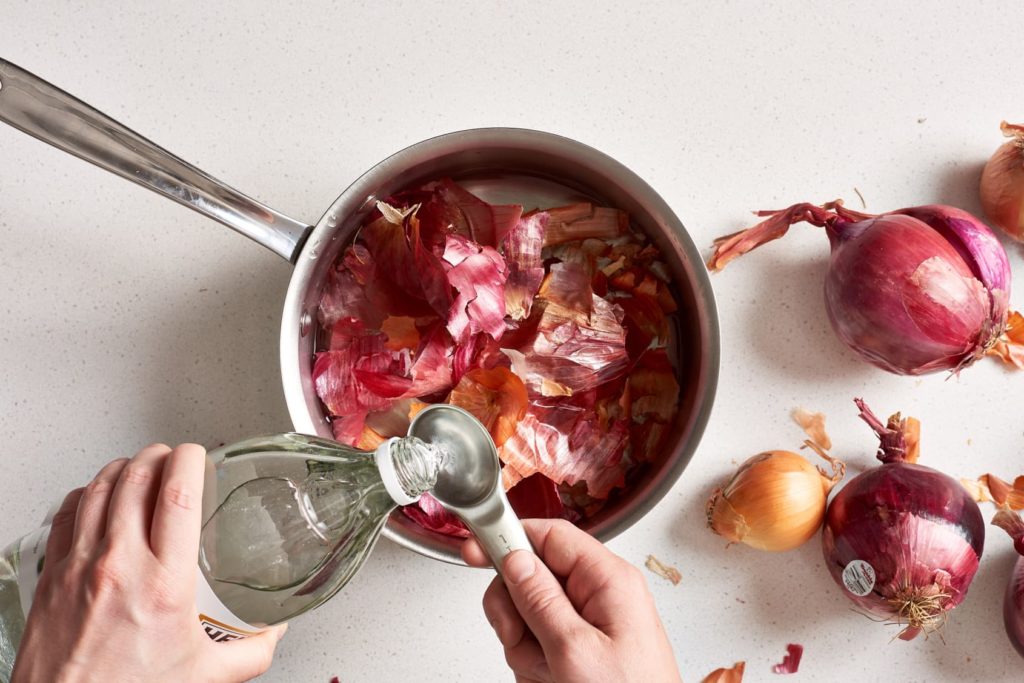
Photo and recipe from The Kitchn
This method comes from The Kitchn:
- Boil onion skins: In a medium (3-quart) stainless steel saucepan, combine the onion skins, water, and vinegar. Use a spoon to stir all the onion skins into the water. Bring up to a boil.
- Simmer: Turn heat down to low and simmer, covered, for at least 30 minutes.
- Strain: Strain the mixture into a non-reactive measuring cup or bowl, and allow to cool. It doesn’t have to be cold, just below 160ºF or so, so you don’t keep cooking the eggs.
- Add the eggs: Use a slotted spoon to gently lower the eggs into the dye. Nudge them into place so the liquid is covering all of the eggs, topping off with a little bit of water if necessary.
- Soak the eggs: Let the eggs soak in the dye for at least 30 minutes, or up to one hour. The longer they soak, the darker they will be.
- Remove and dry: Remove the eggs from the dye with the slotted spoon and allow to cool on a wire rack.
- Polish with olive oil: When the eggs are dry and cool enough to handle, use a few drops of olive oil and a paper towel to polish them up. Keep the eggs refrigerated until ready to eat, up to one week.
Color: Robin’s Egg Blue · Plant: Red Cabbage
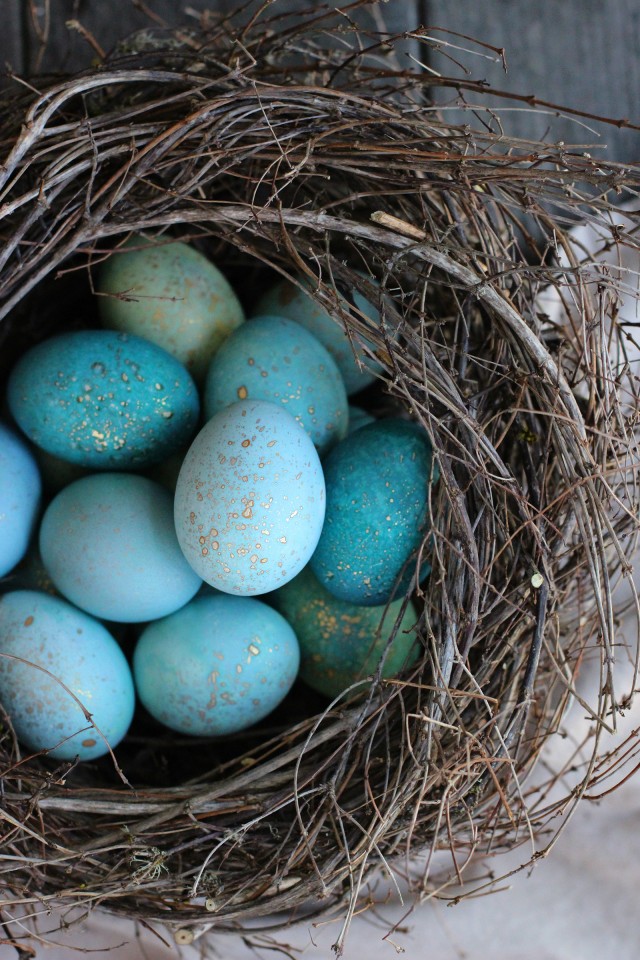
Photo from HonestlyYUM.
Roughly chop a head of red cabbage, and put the cabbage in a large pot with 5 cups of water. Bring to a boil and then simmer for 30-45 minutes. Allow the cabbage to cool completely before straining the cabbage out of cabbage dye. Then stir in 4 tbs of white vinegar.
Place the eggs in a deep baking dish and pour the dye over the eggs. You’ll want to have each of the eggs completely submerged and not touching each other. The dye is purple, but just wait!
For a lighter blue, leave the eggs in the dye for about 1-2 hours. Since the bottom of the eggs make contact with the baking dish, rotate the eggs every half hour or so. When you pull an egg out of the dye after 1-2 hours, the color will look faint, but will darken and develop a richer, greenish hue as it dries.
For a spectrum of blues, remove a few eggs from the dye in increments: after an hour, after two hours, after three hours and after four hours. (If you’re going to leave the eggs for longer than that, or overnight, put the eggs and dye in the fridge.)
Once the eggs have dried completely, you can leave them as they are or spray them with edible gold paint for a pretty speckled effect. Lay the eggs on a few sheets of paper towels; dip a dry bristle brush or toothbrush into the paint and run your index finger along the bristles above the eggs. Let the paint dry completely before splattering the opposite side.
Check out the full Robin’s Egg Blue tutorial by HonestlyYUM.
More plants to play with, and colors to create
Experiment and play with other plants from your garden or kitchen cupboard:
- marigolds
- sunflower heads
- hibiscus flowers
- purple basil
- Queens Annes lace
- larkspur
- elderberries
- blue corn flowers
- yarrow
- chamomile
- dandelion root
- strawberries
What’s your favorite plant-based dye? Leave a comment and let us know!